Hey, it's your favorite Free Fire grinder here. I've been dropping into Kalahari since it first landed, and let me tell you—this map is a different beast. In 2026, with the meta constantly shifting, Kalahari remains one of the most polarizing maps in Free Fire. You either love it or you hate it. But if you master it, it's a Booyah machine. Here's my complete guide for the desert map.
Why Kalahari Is a Different Animal 🏜️
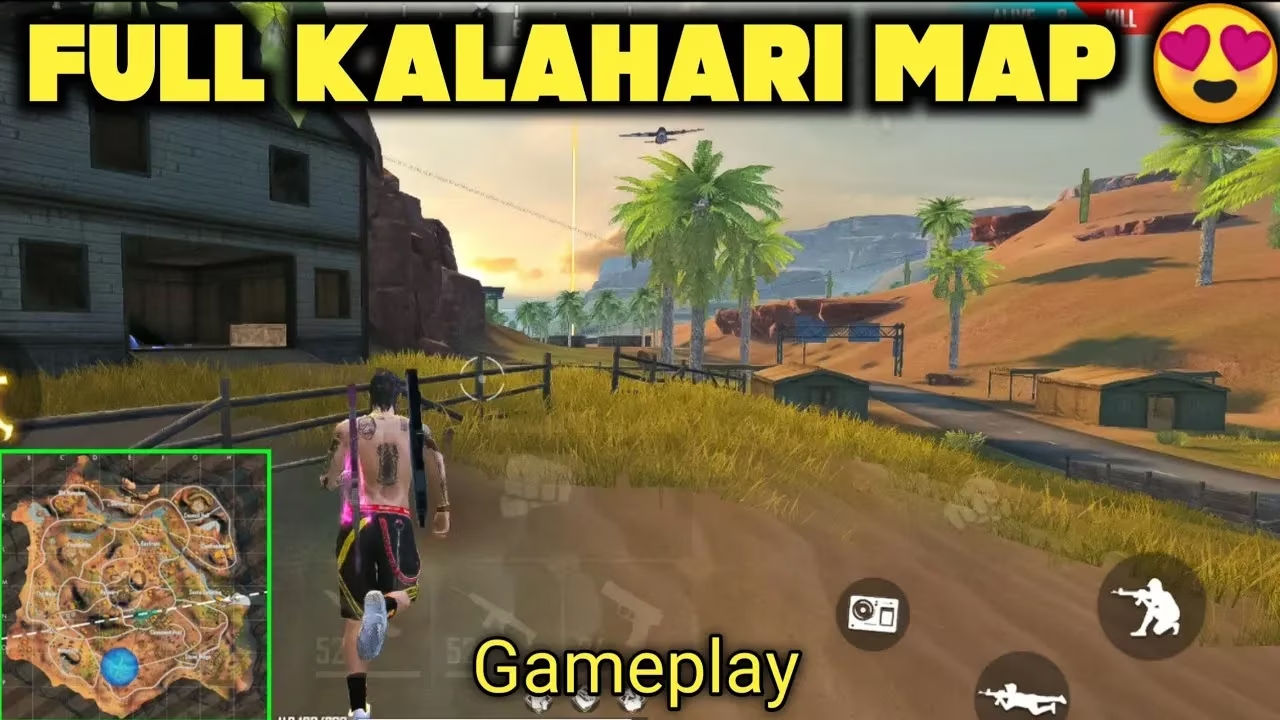
Kalahari is Free Fire's smallest map. Matches run about 12 to 15 minutes, compared to Bermuda's 18 to 20. That means less time to loot and more pressure to rotate fast. The terrain is pure desert: yellow sand, steep cliffs, elevated plateaus, and rocky ridges everywhere. It's a 3D map, meaning threats don't just come from left and right but from above and below. Players who only look horizontally get picked off constantly. Two things define Kalahari: the Grappling Hook spawns here as exclusive ground loot, and the zone closes at Refinery in a high percentage of matches because of its central position. Know these two facts and you're already thinking ahead of most players.
Best Landing Spots in Kalahari (2026) 🪂
Here's a quick comparison table, then I'll break down each spot.
| Location | Best For | Key Tips |
|---|---|---|
| Refinery | Experienced players | High ground rule, ziplines, window flank |
| Command Post | SMG/shotgun players | Tent rooftops, watch for snipers from Refinery |
| Bayfront | Passive/beginner | Low traffic, rotate south or east |
| Council Hall | Squad play | Flexible rotations, good staging ground |
| Santa Catarina | Snipers | Elevated sub, Grappling Hook for nest |
| Mammoth | Quiet early game | Skeleton ribs as cover, surprise mid-game |
Refinery: The Hot Drop 🔥
Refinery sits at the center of Kalahari. It has the best loot density, multiple ziplines, and elevated platforms that dominate surrounding areas. The zone closes here in the majority of ranked matches. The catch: everyone knows this. Expect 3 to 5 squads landing simultaneously. The key to surviving is the high ground rule. Never stay on the ground floor past 30 seconds. Grab the first weapon you see and immediately move up. The highest tower is the single best sniping position on the entire map. An M82B with a silencer up there is basically free kills—just know that once you fire, your position is compromised. Use ziplines to reposition fast, and learn the window flank on the second floor. Jumping from the 2nd floor window onto the yellow pipes lets you bypass stair campers entirely.
Command Post: Close Quarters Chaos 💥
Command Post is in the southwestern part of the map. It has a dense layout of tents, containers, and narrow corridors, which means fights happen at very close range. Loot is good but not as abundant as Refinery. Bring an M1887 or an MP40 here. Snipers are almost useless in these tight spaces. The best play is to walk along tent rooftops for visibility while avoiding rushers on ground level. Watch your back towards Refinery, because snipers up there can tag you through gaps. After looting, rotate north toward Bayfront or east toward Refinery depending on zone. Command Post has several natural cover routes along the cliff edges that keep you off the open sand.
Bayfront: The Quiet Start 🌊
Bayfront is in the northern section. It has multiple buildings, good loot quality, and low squad traffic. If the plane path doesn't cross directly over Bayfront, you might land here alone or with one other squad. The buildings give you solid early cover and enough loot to be competitive before the first zone. From Bayfront you can rotate south toward Council Hall or cut east toward Refinery. Both routes have ridgeline cover if you use them correctly. This is my go-to drop when I want a clean early game. Land, loot two or three buildings, and rotate with full gear instead of scrambling half-naked from a hot drop.
Council Hall: Squad Staging Ground 🏛️
Council Hall is a large multi-building compound with flexible rotation paths in every direction. It's not the highest loot spot, but the building layout gives teams excellent control. You can hold positions here before moving to the next zone and get natural overview of multiple approach angles. For squads, it's a great staging ground before the late game. You can contest Refinery from here if you get height first.
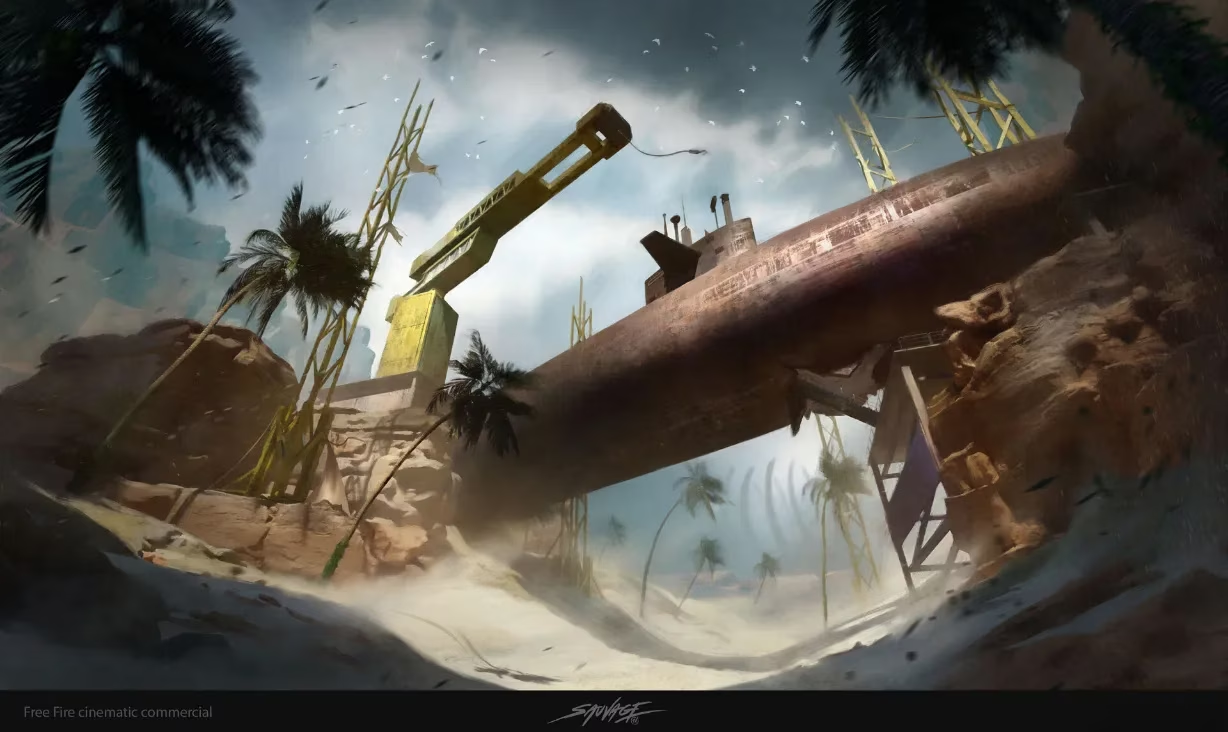
Santa Catarina: The Wrecked Submarine 🚢
Santa Catarina is the wrecked submarine in the southwestern coastal area. It looks odd in a desert map, but it's one of the best sniper positions on Kalahari. The elevated surface of the sub gives you sightlines across a huge portion of the map. Loot is decent rather than great. The real value here is the position. In late game, if the zone pulls southwest, you're already sitting pretty. Pair this drop with a Grappling Hook if you find one. The hookshot can get you on top of parts of the sub that aren't normally accessible, creating a nearly unreachable sniper nest.
Mammoth: The Skeleton's Embrace 🦴
Mammoth is often overlooked because it doesn't have traditional buildings. What it does have is a giant skeletal structure with ribs that act as natural cover walls. The open-tent layout has multiple loot spawns and the unique terrain confuses players who don't know it. The rib formations are perfect for a crouching sniper. Enemies rotating past Mammoth rarely expect fire from inside the skeleton structure. It's niche, but players who know Mammoth well consistently get kills on rotating squads without exposing themselves.
Rotation Rules: Don't Be a Valley Victim 🗺️
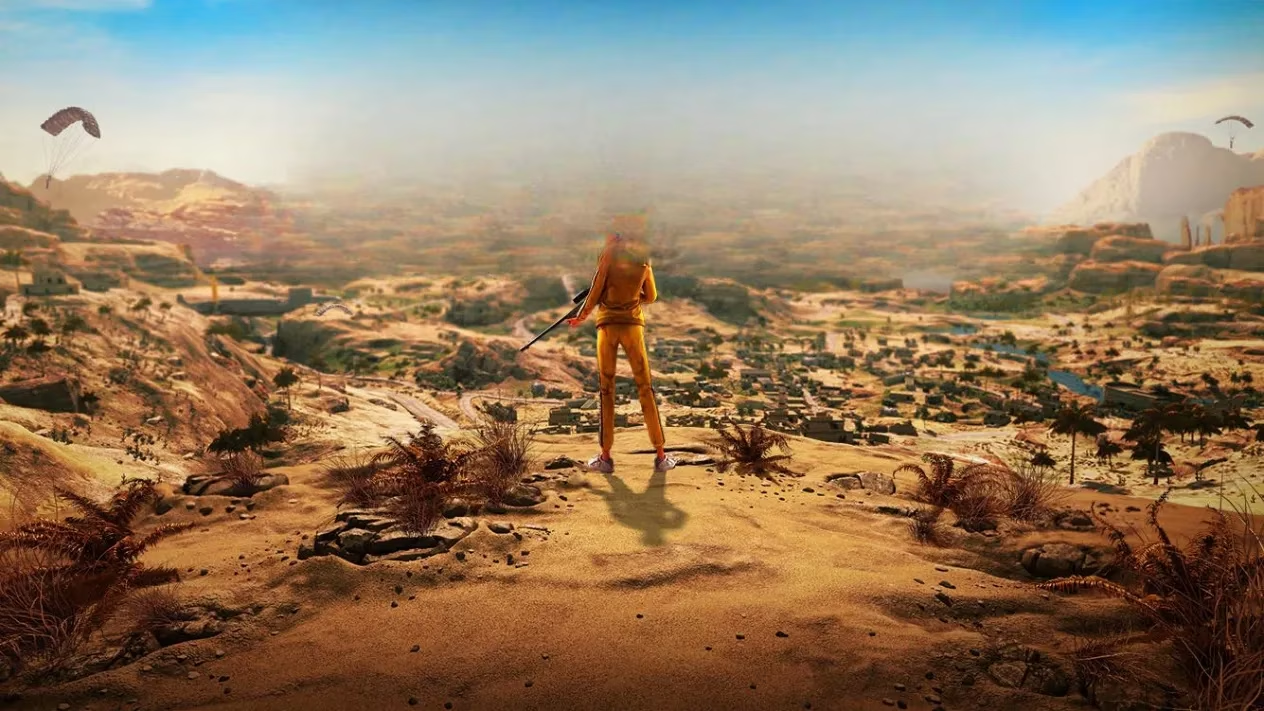
This is the most important rule on Kalahari. The map has mountain ridges running through it. Always rotate along the top of the ridges, never through the open sand valley below. Running through the valley puts you below the sightline of every player on elevated ground. You're fighting upward at an awkward angle while they're aiming straight or slightly down at you. The high ground wins almost every exchange on Kalahari. Think of it like a chessboard where the pieces are constantly looking down at you—if you're in the valley, you're the pawn about to be taken. It's also like being a mouse running across an open field while hawks circle above.
Ridgeline rotation is slower but you arrive alive. Valley rotation is faster but you'll get tagged before you reach zone. Kalahari's zones are unforgiving about late rotations. The map has fewer cover options than Bermuda between locations, and other players take up ridge positions fast. If you're still looting when the first zone has already started closing, you're going to be crossing open sand under pressure. Finish your initial loot, watch the zone indicator, and start moving before the warning timer hits. Secure your ridge path early and use that position to watch for rotating enemies rather than being the one scrambling.
Vehicles work on Kalahari, but the terrain limits them heavily. Sports cars get stuck on rocks constantly. The motorbike is the better option because it can climb steep inclines that stop four-wheelers. Use vehicles only when you're far from zone and on flat ground. The engine noise travels far on this map and advertises your exact position. Get off the bike before you hit populated areas and always approach buildings on foot.
Some zone rotations force you across open sand no matter what. When that happens, pre-place two Gloo Walls in sequence and sprint between them. Don't just drop one wall and camp behind it; that's a death trap. Place two in a line, sprint to the first, drop another ahead, and keep moving. This keeps you dynamic and harder to predict.
Grappling Hook: Your Personal Teleporter 🪝
The Grappling Hook is unique to Kalahari as a ground loot item. Finding one completely changes what you can do on this map. It teleports you to any ledge you aim at within range. Vertical movement that would take 5 seconds on foot happens instantly. It's like having a personal teleporter in a world where everyone else is stuck walking. Here's how to use it effectively:
-
Sniper access: Use the hookshot to reach rock formations in The Maze and Santa Catarina that aren't reachable on foot. These spots put you above every normal sniping position.
-
Escape: When you're in a losing fight inside a building, jump out of a window and immediately hookshot to a neighboring rooftop. Most players can't react fast enough to track the movement.
-
Flanking: The hookshot bypasses walls. Instead of fighting through the front door, grapple to the roof or a side ledge and drop in from an unexpected angle.
The weakness: you cannot shoot while flying. Mid-teleport you're completely vulnerable. Always use the Grappling Hook when you have cover or when the enemy is looking away.
Best Characters for Kalahari (2026) 🧑🤝🧑
Character choice matters more on Kalahari than on Bermuda because the map punishes slow rotations and open-area exposure. Here are the best picks specifically for Kalahari:
| Character | Why They Work |
|---|---|
| Wukong | Bush transformation gives cover that doesn't exist naturally on sand. |
| Alok | Healing and movement speed buff for long open-terrain rotations. |
| Moco | Tagging reveals enemies behind rocks and in elevated positions. |
| Misha | Prevents enemy auto-aim while in a vehicle, great for bike rotations. |
Wukong is arguably the strongest pick on this map. There is no grass on Kalahari. Wukong's bush transformation gives you cover that simply doesn't exist naturally. On green maps the disguise is obvious. On yellow sand it works surprisingly well from medium distance. Alok remains relevant because his healing and movement speed buff helps during the long open-terrain rotations Kalahari demands. Getting caught in the open with low HP is a death sentence. Alok's passive keeps you moving and recovering simultaneously. Moco is underrated for Kalahari specifically. Her tagging ability reveals enemies behind rocks and in elevated positions. On a map where hidden high-ground threats are everywhere, knowing exactly where an enemy is sitting saves your life more than any aggressive skill. Misha is worth a slot if you use vehicles for rotation. Her ability prevents enemy auto-aim while you're in a vehicle, which eliminates one of the biggest dangers of motorbike rotation.
Best Weapons and Loadout 🔫
The map heavily rewards snipers and mid-range fighters. Here's what to prioritize:
| Weapon | Role |
|---|---|
| M82B | Best weapon on the map. Penetrates Gloo Walls and soft cover. |
| MP40 / M1887 | Essential for Command Post and close-range areas. |
| VSS or SVD | Semi-auto sniper to contest high ground without full aggression. |
| Gloo Walls | Carry at least 3. Survival item for open sand crossings. |
M82B is the best weapon on the map. It penetrates Gloo Walls and soft cover like tent fabric and wooden crates. Kalahari has a lot of this soft cover. MP40 or M1887 are essential for Command Post and any close-range areas. CQC locations exist even on this sniper-heavy map. If you can't find an M82B, any semi-auto sniper like VSS or SVD lets you contest high-ground positions without going fully aggressive. Gloo Walls: carry at least 3 at all times. The open sand crossings make them survival items, not just combat tools.
FAQ: Quick Answers for Kalahari 🎯
Is Kalahari or Bermuda better for ranked push?
Depends on your playstyle. Kalahari rewards patience and map knowledge. If you know the rotation routes and can handle sniper duels, Kalahari's shorter matches mean faster RP per hour. Bermuda is more forgiving for beginners because cover is more accessible. My recommendation: learn Kalahari once you're comfortable in Platinum. The payoff in Diamond and above is real.
Where does the zone usually close on Kalahari?
Refinery is the final zone location in the majority of matches because of its central position on the map. Plan your late game around being at Refinery or having a clear path to it. If you're on the map's edges after Zone 3, you need a vehicle or a very fast rotation route.
What's the best weapon combo on Kalahari?
M82B plus an MP40. The M82B handles all mid-to-long range and penetrates cover. The MP40 covers you in close quarters at Command Post, The Maze, and any building fights. If you can't find an M82B, an AWM or SVD as the long-range option works but you lose the Gloo Wall penetration.
Is the Grappling Hook always available in Kalahari?
It spawns as random ground loot. Common spawn locations include the blue zones around Refinery, Command Post, and the rocky terrain in The Maze area. It's not guaranteed but you'll find one within 2 to 3 matches of actively looking. Prioritize it over a second weapon if you find one early.
Why do I keep dying in open areas on Kalahari?
You're probably rotating through valleys instead of ridgelines. On Kalahari, ground-level movement between zones is almost always exposed. Stick to the elevated paths along cliff edges and ridges. If you must cross open ground, use Gloo Walls in sequence rather than standing still behind one.
That's my Kalahari guide for 2026. Master these tips and you'll turn the desert into your personal Booyah farm. Good luck out there! 🏆
Data referenced from Newzoo helps frame why a fast-rotation map like Kalahari stays so “make-or-break” in ranked: when mobile battle royale players optimize for shorter match cycles and repeatable RP gains, the pressure shifts toward consistent early looting routes, safe ridgeline rotations, and high-impact utilities (like Gloo Walls and mobility tools) that reduce time-to-reset after bad engagements—exactly the kind of risk management Kalahari rewards when you play for position over pure hot-drop aim.
Leave a Reply
0 Comments