Hey besties! 👋 So, I've been seeing a lot of you ask how I get those crispy smooth Free Fire gameplay clips on my PC setup. As a long-time player who's seen the game evolve since its early days, I can tell you that playing on an emulator in 2026 is a total game-changer. It's like giving your favorite mobile shooter a major PC-level upgrade – the visuals are sharper, the controls are way more precise, and honestly, it just feels more immersive. Forget the tiny screen and touch controls; we're about to level up our entire gaming experience. Let's dive into my personal setup and the steps I swear by to get the best performance. 🚀

Okay, first things first – choosing your emulator. This is basically your 'gaming rig' for Free Fire. Back in the day, we had a few options, but now things are even more optimized. My go-tos are still the big three, but they've gotten so much better with updates. Here's my personal breakdown:
-
BlueStacks 5 (The All-Rounder): Honestly, this is my daily driver. It's super stable, gets frequent updates, and their Keymapping feature for controls is chef's kiss. Perfect if you want a 'set it and forget it' experience.
-
MEmu Play (The Lightweight): If your PC isn't a beast, this one is a lifesaver. It's less resource-hungry, which means more frames for your game. A solid pick for smoother gameplay on mid-range systems.
-
LDPlayer (The Gamer's Choice): This one is tuned specifically for gaming performance. I use it when I'm seriously grinding ranks because it feels super responsive. The multi-instance feature is also wild for... well, let's just say alternative account strategies. 😉
Now, before you go downloading anything, let's talk about what your PC needs. Think of this as the foundation – you can't build a stable house on sand, right?
Your PC's Must-Have Checklist (2026 Edition):
| Requirement | Minimum Spec (To Run It) | My Recommended Spec (To Enjoy It) |
|---|---|---|
| Operating System | Windows 10 | Windows 11 (The optimizations are real!) |
| Processor (CPU) | Intel or AMD Dual-Core | Intel i5 / AMD Ryzen 5 or higher (Quad-core is the sweet spot) |
| RAM | 4GB | 8GB or more (Trust me, your system will thank you) |
| Storage (HDD/SSD) | 5GB Free Space | SSD with 10GB+ free (Faster loading times = quicker into the battle) |
| Graphics | OpenGL 2.0 support | Latest DirectX and GPU drivers |
| BIOS Setting | Virtualization (VT) Enabled | VT MUST be Enabled! (This is non-negotiable for performance) |
P.S. Enabling VT (Virtualization Technology) in your BIOS is the #1 most missed step! If your game is laggy, 99% of the time this is why. A quick Google search for "Enable VT on [Your PC Brand]" will save you hours of headache. You got this! 💪
Alright, with the boring but crucial tech stuff out of the way, let's get to the fun part – actually getting Free Fire on your big screen!
My Step-by-Step Setup Routine:
-
Download & Install: Head to the official website of your chosen emulator (BlueStacks, MEmu, or LDPlayer) and grab the latest 2026 version. The installation is usually just clicking 'Next' a bunch of times.
-
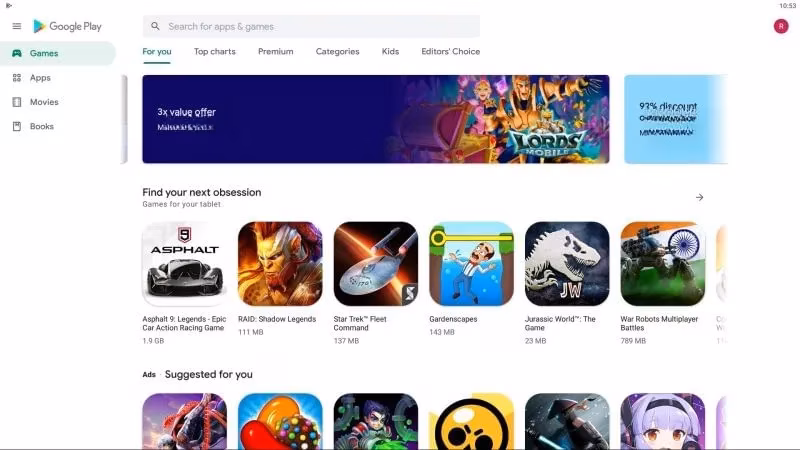
First Boot & Sign-In: Once it's installed, fire it up! You'll be greeted with what looks like an Android phone screen on your PC. The first thing you need to do is log into your Google account. This is your gateway to the Play Store.
-
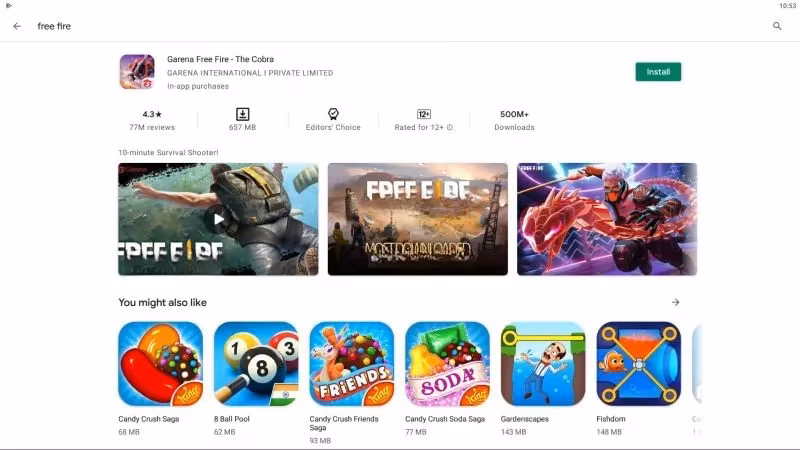
Hit the Play Store: See that colorful Play Store icon? Click it! Now, use the search bar to look for "Garena Free Fire." It should be the first result.
-
Install the Game: Click on the game and hit that glorious green "Install" button. Go grab a snack, maybe do a little dance – this might take a few minutes depending on your internet.
- Launch & Conquer: After installation, you can find the Free Fire icon on your emulator's home screen. Click it, log in with your existing Free Fire account (or make a new one), and... welcome to the big leagues! 🎮
A few pro-tips from my own grind:
-
Customize Your Controls: Don't use the default key binds! Take 10 minutes to map your keys to what feels natural. I have my aim, shoot, crouch, and medkits all on my mouse and keyboard in a way that just flows.
-
Graphics Settings: Inside Free Fire's settings, crank that graphics quality to "Smooth" and FPS to "Ultra." Competitive play is about clarity and frames, not just fancy shadows.
-
It Feels Different: The game plays differently on emulator. Your movement is sharper, recoil control is easier with a mouse... but so is everyone else's. The competition pool is separate from mobile, so get ready for some intense matches!
Switching to PC was the best decision I made for my Free Fire journey. It's like the game finally stretched its legs and showed me what it could really do. The difference in control and consistency is honestly night and day. So, if you're serious about upping your game, give this setup a try. Once you experience those buttery-smooth headshots on a big monitor... yeah, there's no going back. Happy gaming, and see you on the battlefield! 🔥
P.P.S. What's your favorite emulator setup or keybind trick? Spill the tea in the comments! 👇
Leave a Reply
0 Comments